360 WiFi pod upgrades are happening now!

Use the Quantum Fiber app to set up your new WiFi 7 pods. Learn more about these changes.

How to add a 360 WiFi pod

You can update your 360 WiFi network as your needs change. Once you've already done the initial setup of 360 WiFi, you can add a WiFi pod to your service by following the instructions below.

There are two separate parts to adding a pod to your setup.

Part one must be completed first.


  1. Order a pod on the account portal

  2. Install the pod using the Quantum Fiber app

1. Order a pod from your online account

1. Sign in to your account on the web portal. Once signed in, select My Account from the top menu.

Account portal screenshot, step 1

2. In the Subscription Information section, select Manage Products.

Account portal screenshot, step 2

3. You will see multiple tabs for your Quantum Fiber services, starting with Internet. Select the 360 WiFi tab.

Account portal screenshot, step 3

4. In the Subscription Information box, select Change Product.

Account portal screenshot, step 4

5. Click the + button to add the pods you need. You'll see the new total number of pods listed below. When done, select the Add Pods button at the bottom and follow the instructions to confirm the order. The pods will be shipped to you within 48 hours.

Account portal screenshot, step 5

2. Install the new pod using the Quantum Fiber app

Part one (above) must be completed first. Once you've received the additional pod you ordered, continue to the steps below. 

Download the Quantum Fiber app

Quantum Fiber app logo
Quantum Fiber app download QR code

6. Open the Quantum Fiber app on your mobile device and sign in.

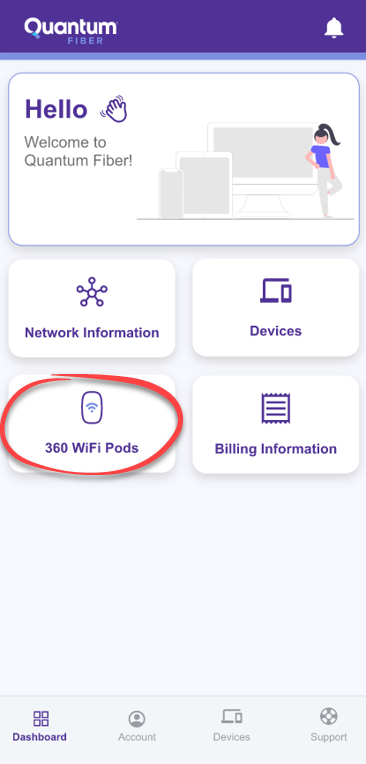
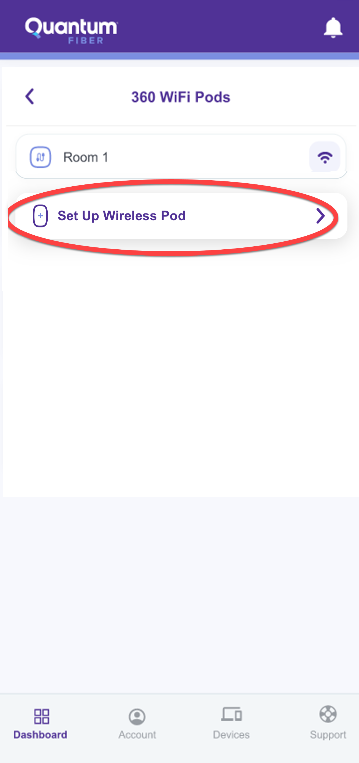
7. On the app home screen, tap Install 360 WiFi Pods.

Quantum Fiber app home screen showing option to install 360 WiFi pods

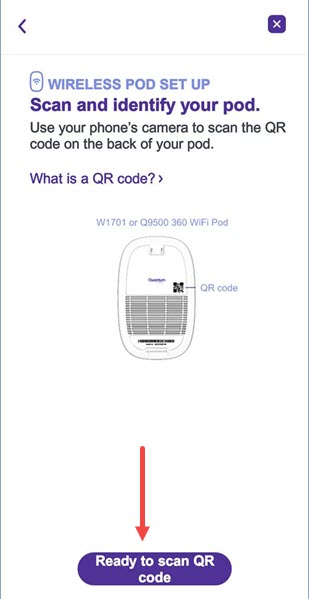
8. On the next screen, tap Ready to scan QR Code

Quantum Fiber app wireless pod setup screen showing button to scan QR code

9. Tap Allow to enable your phone's camera. If you don't want to allow camera access, you can tap Don't Allow and enter the serial number manually.
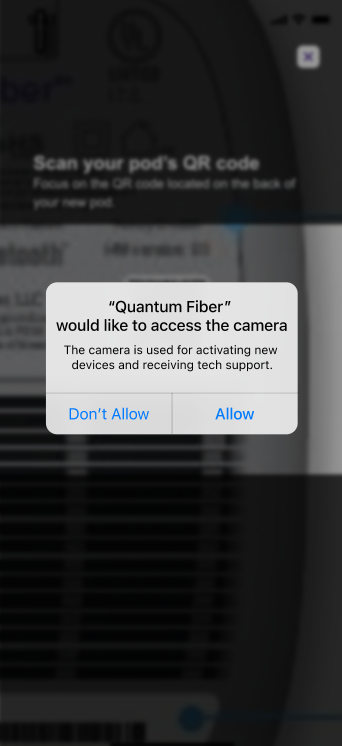
App screenshot of "Allow camera access" screen to scan pod code

If you allowed camera access, use your phone to scan the QR code on the back of the pod. If you selected Don’t Allow, enter the serial number using all UPPER CASE letters.
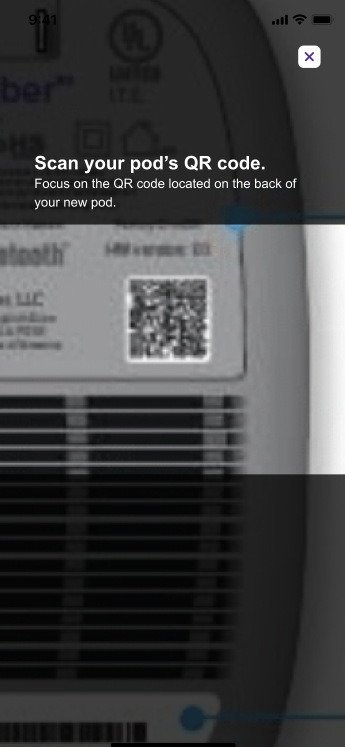
App screenshot showing QR code scanner

10. The system will now add the new pod to your network. When it's finished, a success screen will show your network name and all connected pods. 
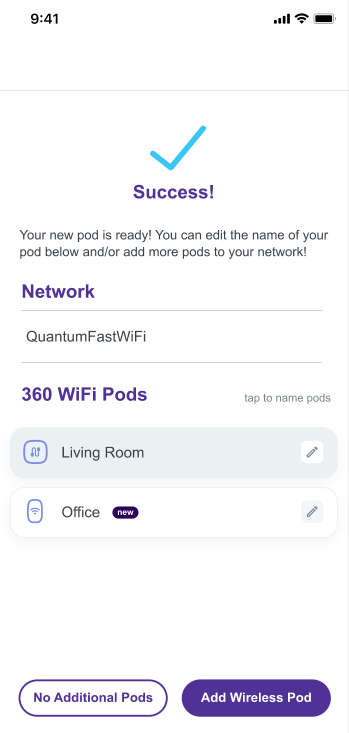
App screenshot showing success screen, wireless pod added

Need more help? Chat with us here on the website, or you can start a chat in the app or the online portal. If you prefer to call, we're here 7 days a week 7 a.m. to 11 p.m. CST.