How to set up Static IP on a gateway modem
If you have a gateway modem like a C4000XG, follow these instructions to set up Static IP. Follow these steps to configure Static IP through the modem user settings.
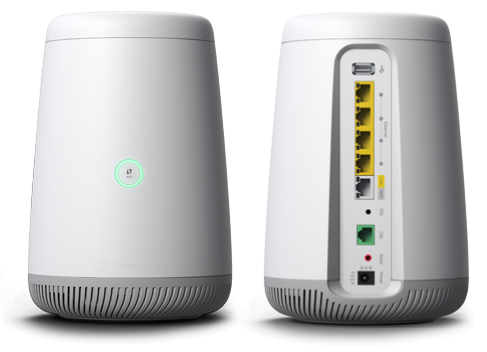
Step 1: Sign in to your Modem GUI (settings)
1. Connect a computer to your home network, using either an Ethernet cord plugged into the back of your modem, or by connecting to WiFi.
2. Open a browser window and type http://192.168.0.1 into the web address field.
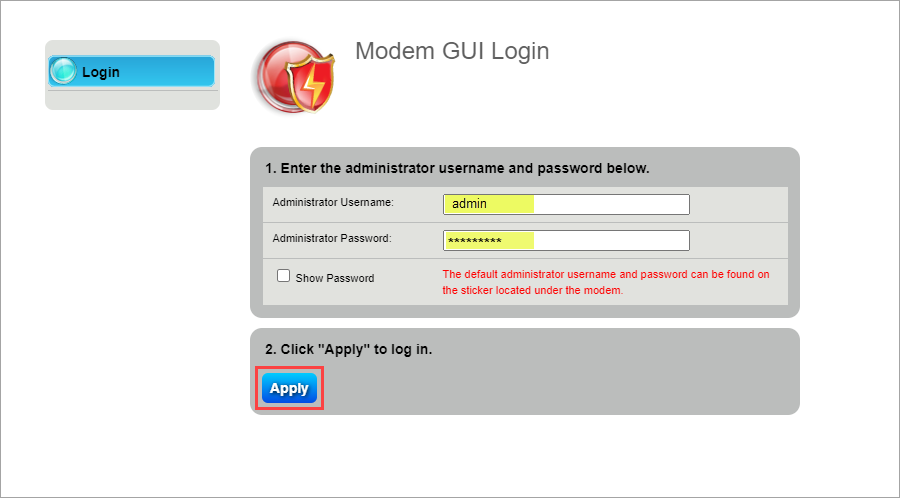
3. Sign in to the Modem GUI (settings portal) using the Admin Username and Admin Password. These are printed on the sticker on the side or bottom of your modem.
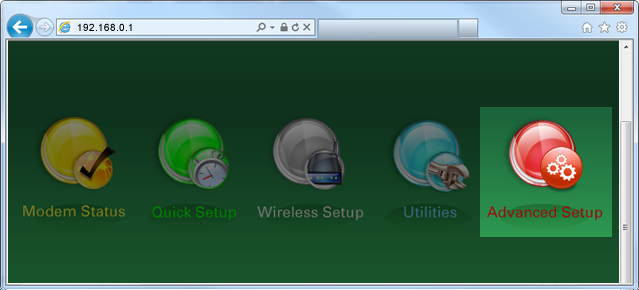
4. Select the Advanced Setup icon in the main menu.
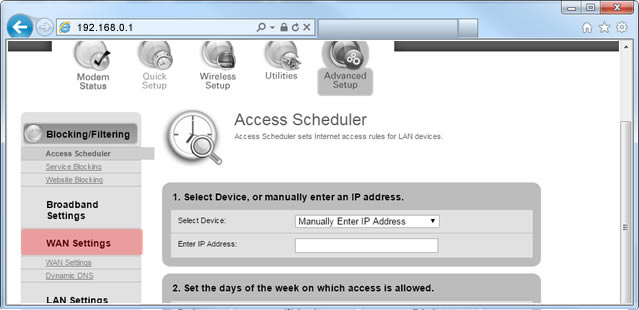
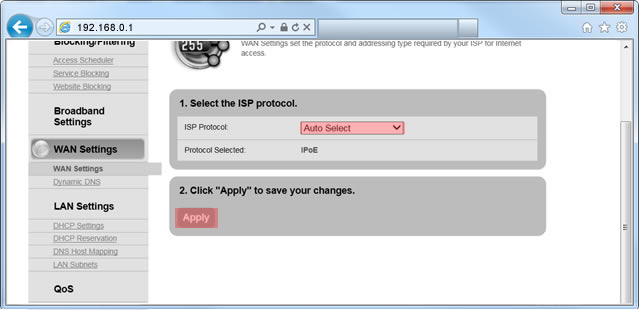
5. Select WAN Settings in the left side menu.
6. For ISP Protocol, select Auto Select from the drop-down, then Apply.
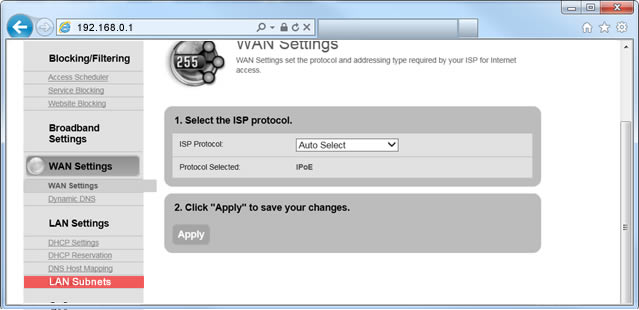
7. Now select LAN Subnets in the next section of the side menu.
8. Choose a name for the LAN subnet you want to create. The LAN subnet name cannot contain spaces.
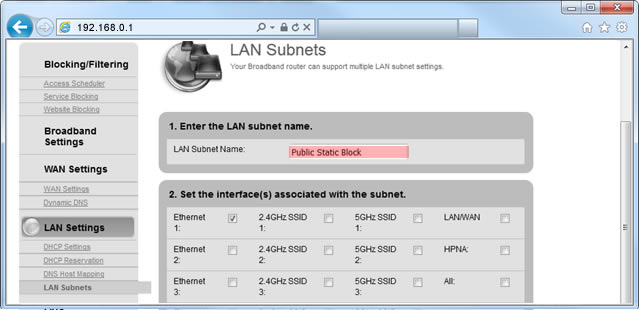
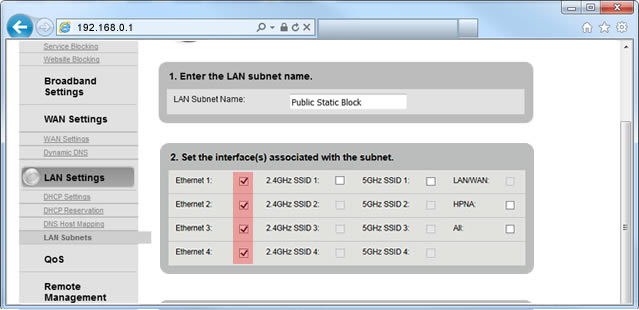
9. Select the interfaces you want to associate with the subnet you are adding. Most users will want to select Ethernet 1, 2, 3 and 4.
10. For IPv4 Addressing State and Modem IPv4 Admin Access, select Enable.
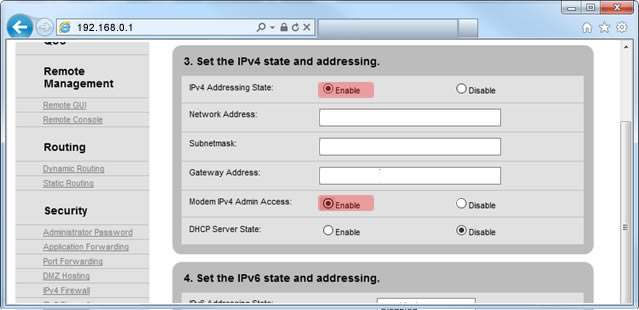
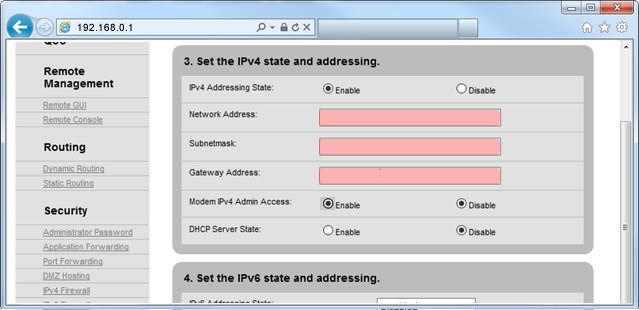
11. Enter the Network Address, Subnet Mask and Gateway Address provided in your static IP confirmation email.
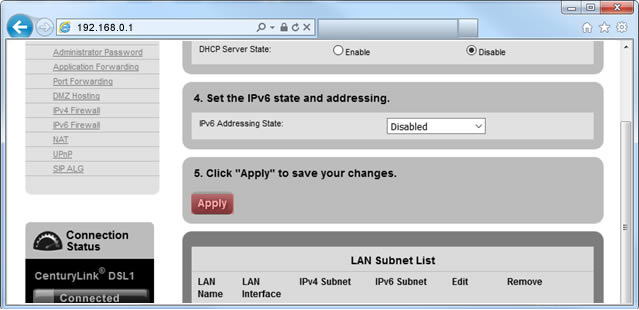
12. Select Apply to save your changes.
Need more help? Chat with us here, in the app, or from the account portal. If you prefer to call, that's an option.
Was this information helpful?


